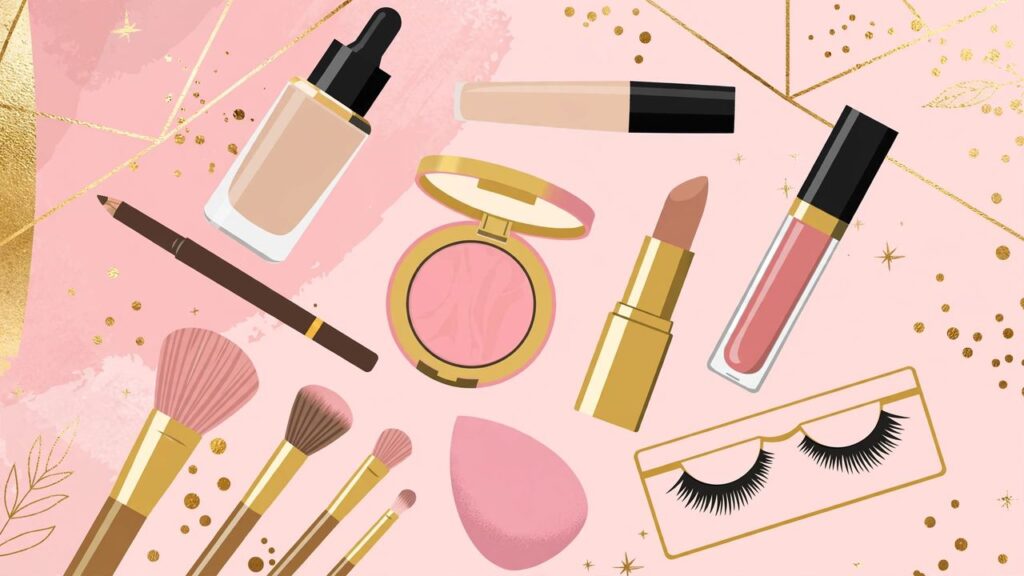
The baddie makeup look seems intimidating from the outside — the snatched brows, the flawless skin, the glossy lips. I remember watching tutorials thinking I’d need forty products and a cosmetology degree. Turns out, the whole look comes down to a handful of essentials and a few techniques. You don’t need a full vanity. You need the right basics.
This guide covers every baddie makeup essential a beginner actually needs — what each product does, why it matters for the look, and where you can save money without sacrificing the vibe.
What makes makeup “baddie” anyway?
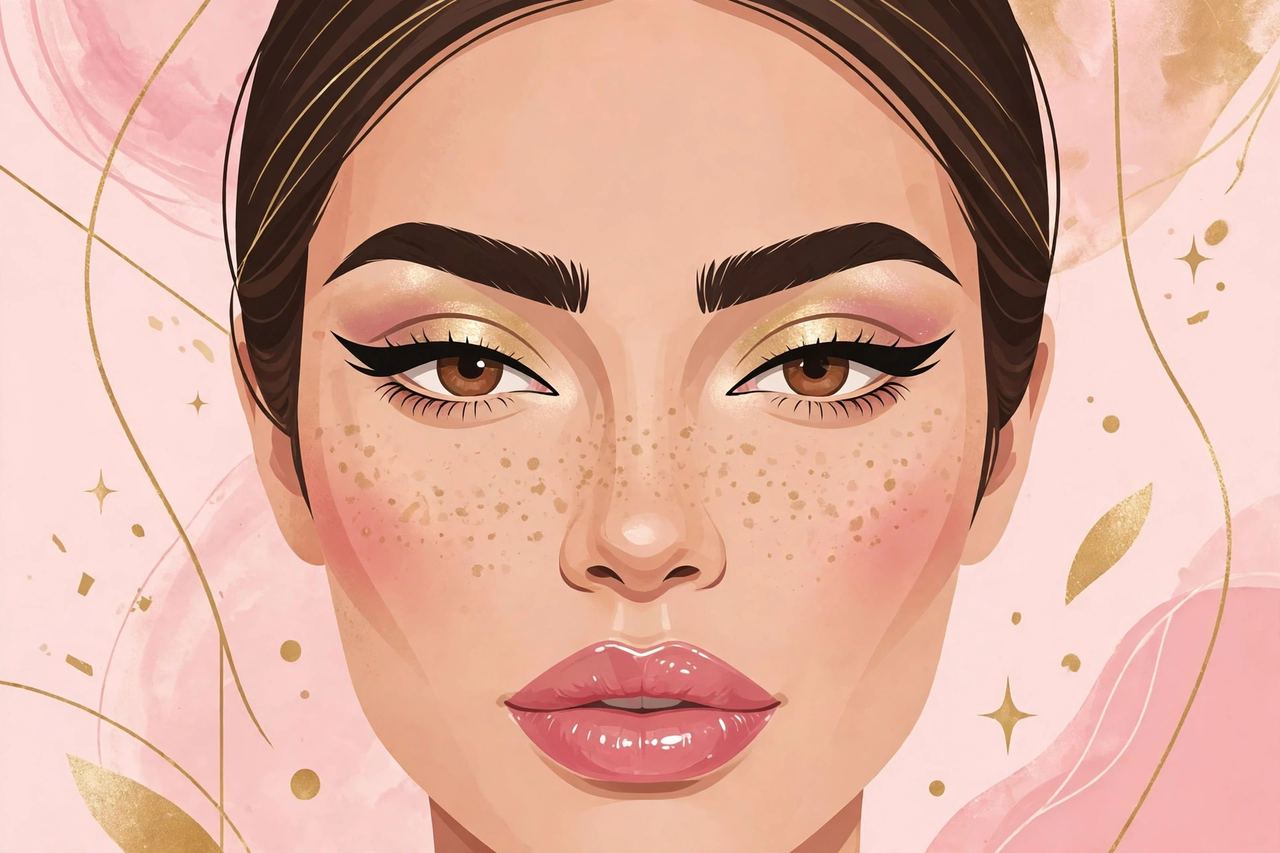
Baddie makeup is a specific aesthetic: bold, polished, confident. Think sculpted brows, smooth full-coverage base, defined eyes with lashes, contoured cheeks, and glossy statement lips. It’s glam but wearable — the everyday version of red-carpet makeup. The key isn’t wearing more product; it’s precision. Clean lines, blended edges, and everything in its place. Once you understand the formula, it’s surprisingly repeatable.
The essentials: base
Everything sits on the base, so this is where quality matters most. Start with a primer suited to your skin type — it smooths texture and makes everything last longer. Then foundation: for the baddie look, you want medium-to-full coverage with a natural-matte finish. Match it to your jawline in natural light, not the back of your hand.
Concealer does the heavy lifting — brighten under the eyes, around the nose, and the center of the forehead, then blend upward for a lifted effect. Set it all with a translucent powder, focusing on the T-zone. Baking (packing on extra powder and dusting it off) works for photos but can look heavy in person — use it sparingly until you know your skin.
Brows: the frame of the look
If there’s one thing that instantly reads “baddie,” it’s the brows. Clean them up, then fill with a pencil or pomade in a shade matching your hair — small hair-like strokes, not one solid block. The signature move: carve underneath with concealer for that sharp, defined edge. It takes practice, but this single step transforms the whole face. Brows frame everything else, so never skip them.
Eyes: liner and lashes
Baddie eyes are defined but not complicated. A winged liner — even a small one — lifts the whole eye. If wings intimidate you, tightlining (lining right at the lash base) gives definition without the drama. Neutral eyeshadow in warm browns adds depth; you don’t need a 35-pan palette.
Lashes are non-negotiable for the full look. Strip lashes in a wispy or cat-eye style, applied with a thin band of glue and set aside for 30 seconds to get tacky first. Mascara alone works for a softer everyday version — curl first, then two coats.
Cheeks: blush and contour
Contour is what gives baddie makeup its sculpted dimension. Use a cool-toned powder or cream two shades deeper than your skin under the cheekbones, along the jawline, and the sides of the nose. Blend, blend, blend — harsh lines are the enemy.
Blush goes on the high points of the cheeks, swept slightly upward. And highlighter on the cheekbones, nose bridge, and cupid’s bow for that lit-from-within glow. Cream products blend more naturally for beginners; powders are more forgiving to build up slowly.
Lips: liner + gloss
The baddie lip formula is simple: lip liner slightly darker than your lipstick, overlining just the cupid’s bow and center of the bottom lip for fullness, then a nude or brown-toned lipstick, finished with clear or tinted gloss in the center. The gloss is what makes it read “baddie” instead of just “makeup.” Keep a gloss in your bag — it’s the one product worth reapplying through the day.
Budget vs splurge: where to save
You don’t need luxury everything. Save on: mascara, lip gloss, brow pencils, and setting powder — drugstore versions perform nearly identically. Consider spending more on: foundation (shade match and formula matter) and a good eyeshadow palette you’ll actually use daily. And honestly? Technique beats price. A skilled hand with affordable products looks better than expensive products applied badly. Watch tutorials, practice on low-stakes days, and build your kit gradually.
Conclusion
Baddie makeup isn’t about owning every product — it’s about nailing the formula: sharp brows, flawless base, defined eyes with lashes, sculpted cheeks, and glossy lips. Start with the essentials in this guide, practice the techniques that scare you most, and remember that every baddie you admire started exactly where you are now: watching a tutorial and wondering if they could pull it off. You can.
Frequently Asked Questions
What are the must-have baddie makeup essentials for beginners?
The core kit: primer, medium-to-full coverage foundation, concealer, translucent powder, brow pencil or pomade, neutral eyeshadow, eyeliner, strip lashes or mascara, contour, blush, highlighter, lip liner, nude lipstick, and lip gloss. Start with these and add as you learn what you actually reach for.
How do I get the sharp baddie brow look?
Fill brows with small hair-like strokes using a pencil or pomade matched to your hair color, then “carve” a clean edge underneath with concealer applied with a flat brush. Blend the concealer’s lower edge into your foundation for a seamless sharp line.
Do I need expensive makeup for the baddie look?
No. Drugstore mascara, brow pencils, lip gloss, and powders perform as well as luxury versions. Spend more selectively on foundation (for shade match) and tools like brushes and a beauty sponge, which affect every product you use.
How do I make my baddie makeup last all day?
Prep with primer, use long-wear foundation formulas, set with powder, and finish with setting spray. Keep blotting papers and your lip gloss for touch-ups. Avoid touching your face — that’s what breaks down base makeup fastest.
What’s the easiest baddie eye look for beginners?
Tightline your upper lash line (liner right at the lash base), add one coat of mascara after curling, and apply a wash of warm brown eyeshadow in the crease. Add strip lashes once you’re comfortable — they do more for the baddie effect than any eyeshadow technique.

